[Werbung:] Hello everybody! Apart from doing handlettering, I also love mostly any other bright DIY project and this time, I decided to do a tutorial with watercolors. Back in spring, I teamed up with OTTO for a colorful cooperation in which I created content for their new Pinterest campaign and this fall, they approached me again and I am supporting them with their new living and interior campaign.


For their new campaign, I chose a chest of drawers from their Home Affaire series to build it
together, to do a tiny makeover and to decorate it with plants and a
botanical watercolor illustration.
New Chest of Drawers – Mini Makeover:


First of all, I had to put all pieces together according to the instructions. I totally like the chest of drawer, but I did not like the metallic knobs, they do neither fit my taste of interior style, nor do they match with my wooden furniture.
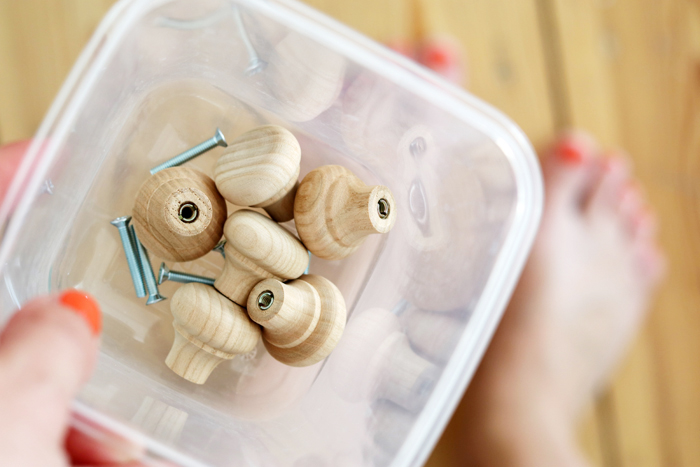
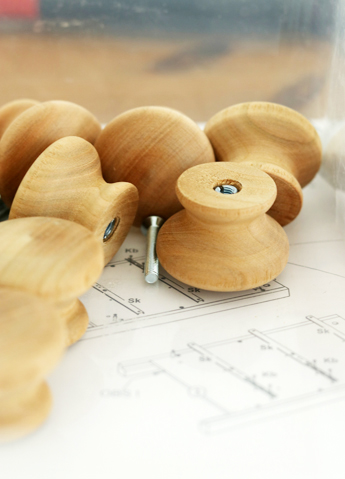
Thus, I went to the hardware store and got myself some new wooden knobs.

For a little makeover, I just used permanent spray in white and sprayed the knobs outside on my balcony.

You will need several layers until they are fully covered.

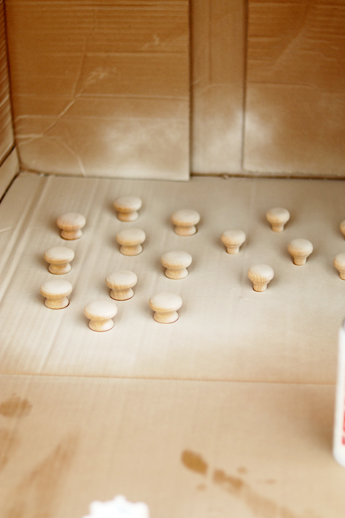
Turn them around frequently so that each side will finally be covered in paint.
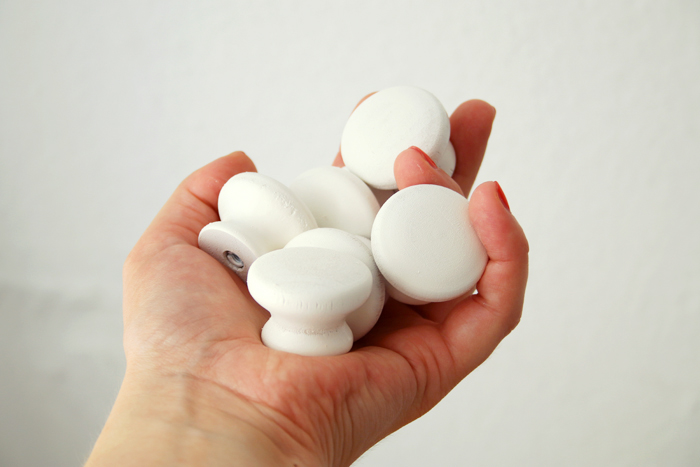
Ta daaaa!
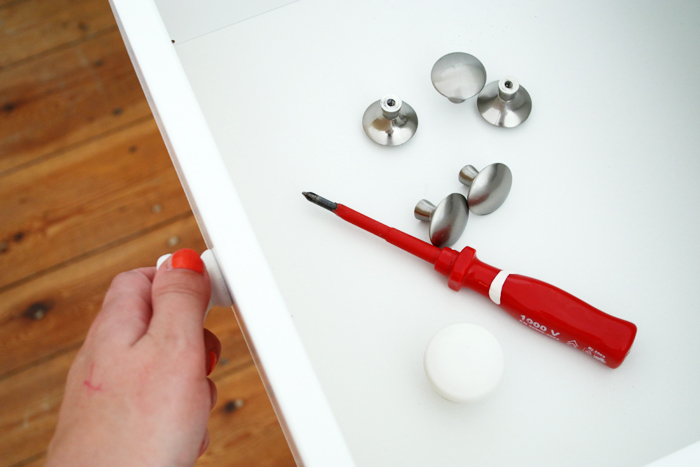
Then I exchanged the knobs and substituted the silver metal ones with the new white wood knobs.
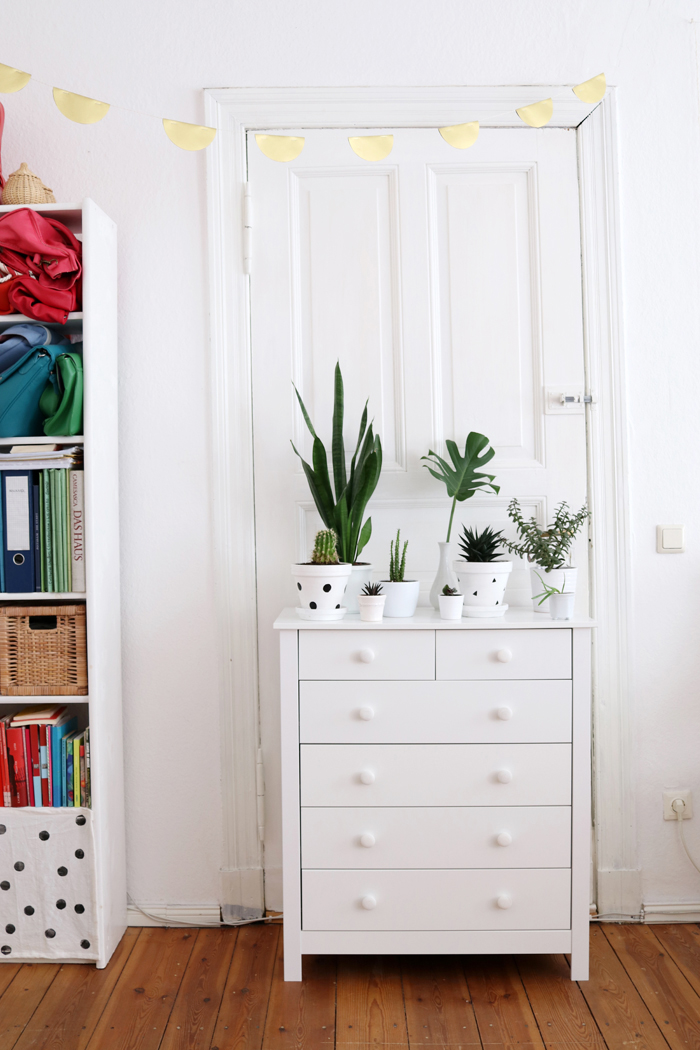
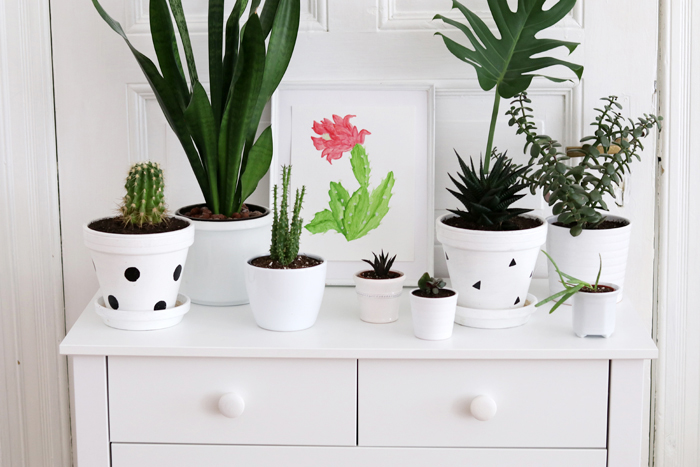
There it is, my new chest of drawers, prettily decorated with some plants.

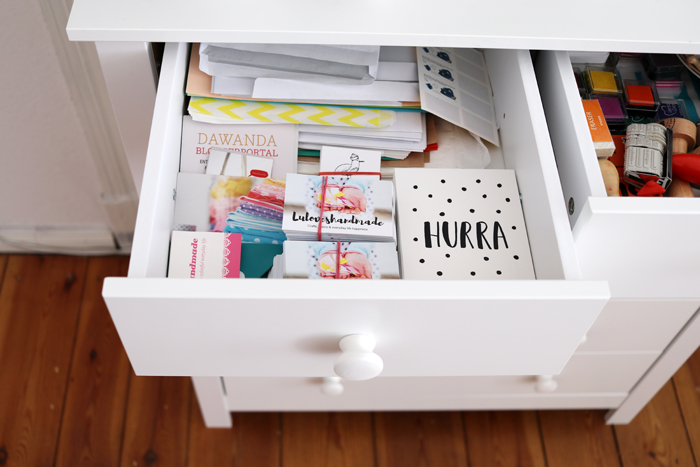
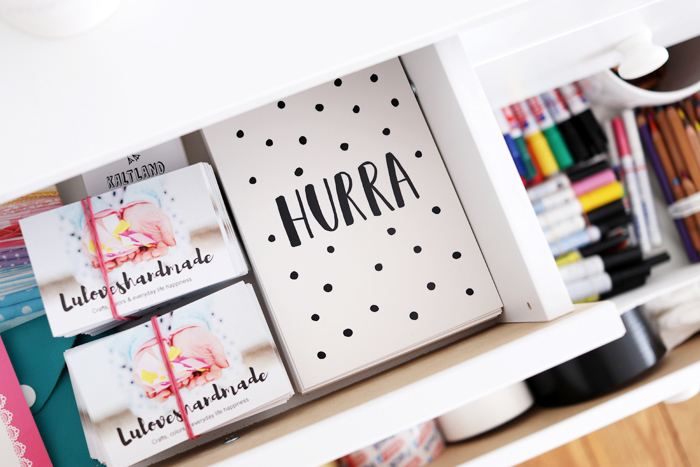
There is plenty of space inside and I filled the top drawers with the items that I need most freuquently; my business cards, handmade postcards and envelopes for happy mail.

The rest of the chest of drawers is now filled with craft supplies like paint, pens, glue, tape, and so on. Everything in one place, yay!
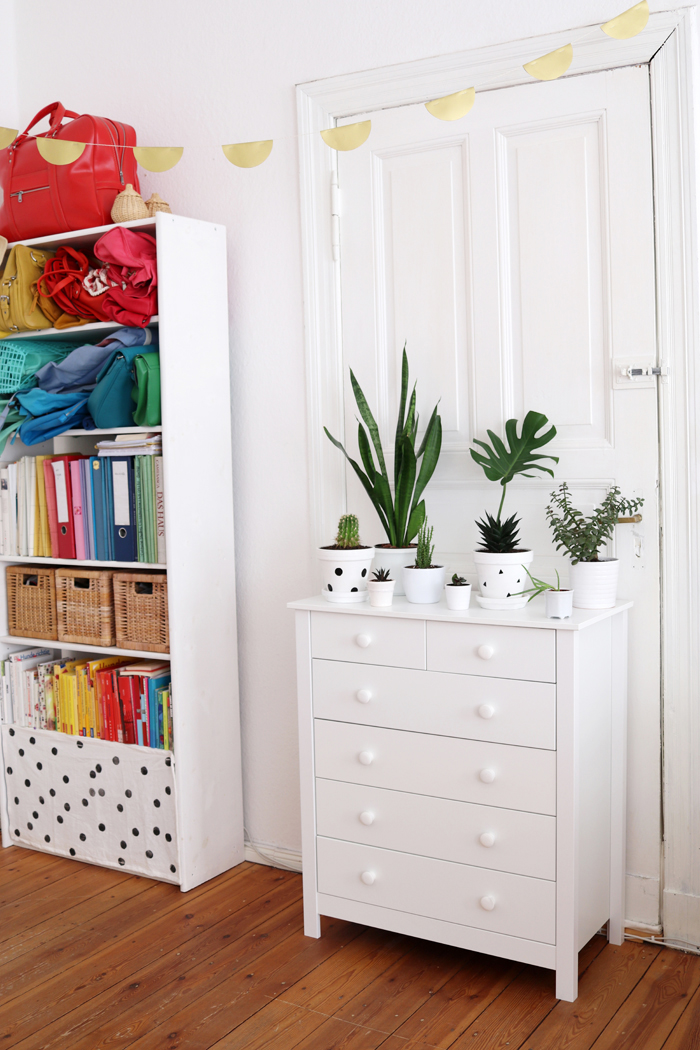
Yippie, I am super satisfied with the result and how well the chest of drawer matches my other pieces of furniture and harmonizes with everything else around.
Now let’s get started with the crafty part:
DIY: Make Your Own Botanical Watercolor Illustration

To add something even more special to the green mini garden on top of the chest of drawers, I decided to make a botanical watercolor illustration and here is a tutorial for you to make one yourself.

What you need for the DIY:
– Watercolor paper (this soaks in the water without becoming warped)
– Watercolors and watercolor paint brushes
– A pencil, some water and a picture frame
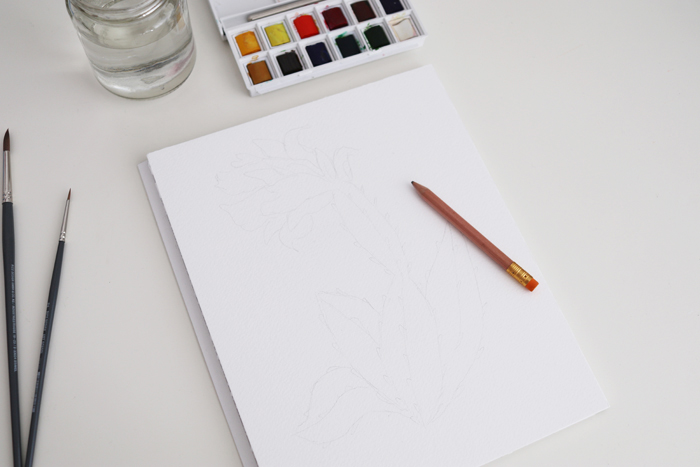
First, use your pencil and carefully start drawing outlines for a botanical plant. In case you need inspiration, have a look at Google, at a botanical encyclopedia or check out the campaign’s Pinterest group board with botanical prints.

Use lots of water to mix the colors and try to get a feeling for how much water you need in order to optain the shade of color that you want.
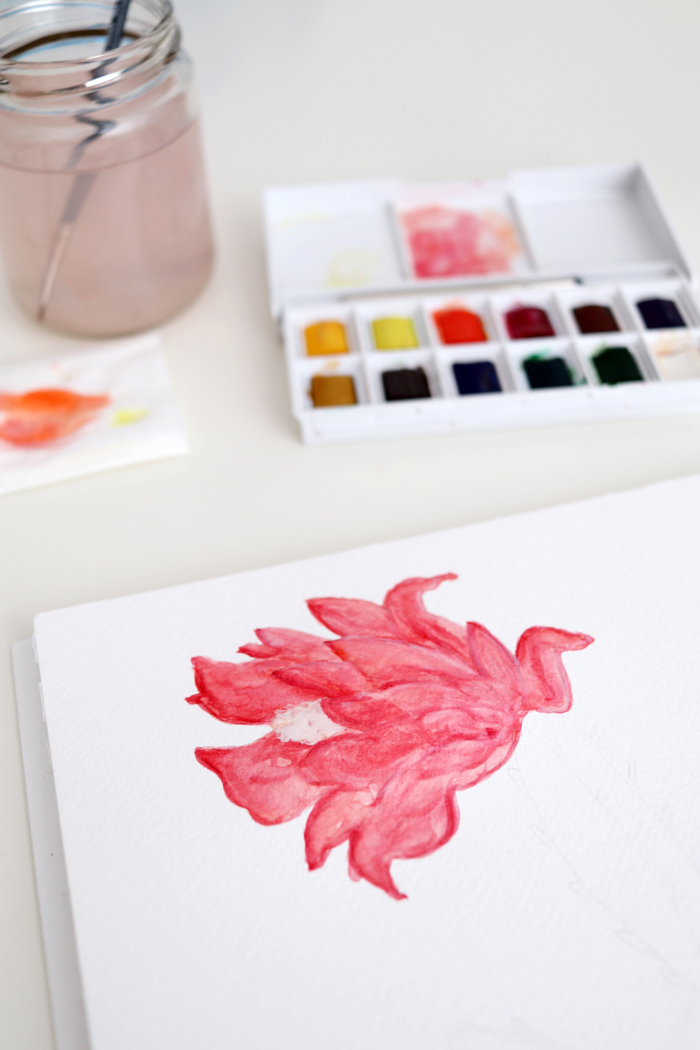
Draw your motiv, mix colors, add shades and try to find your own style.

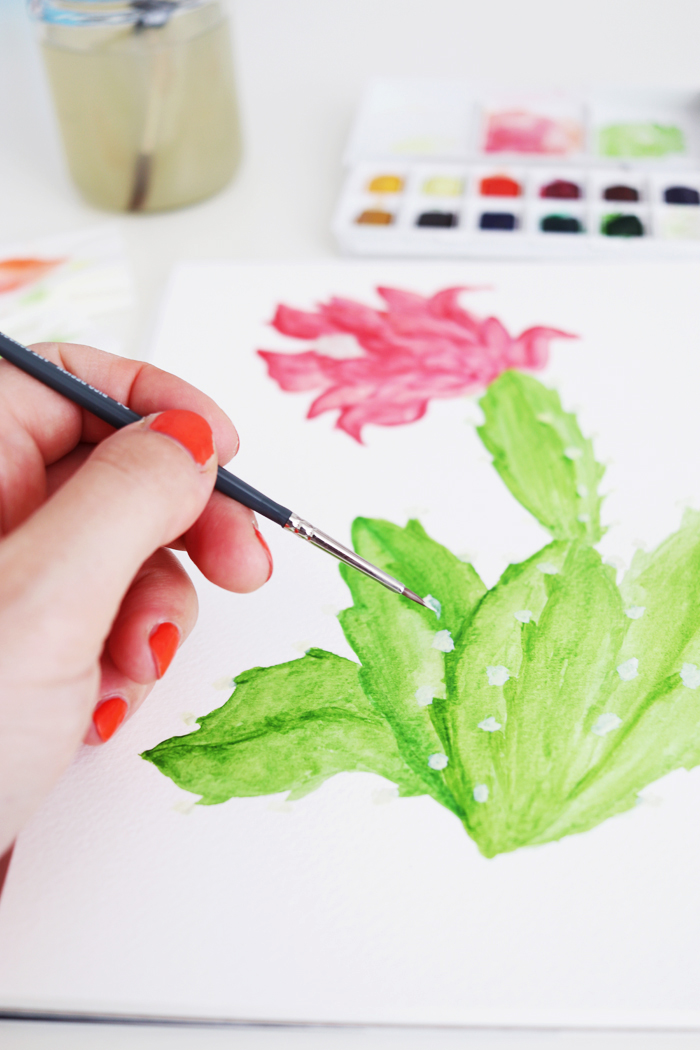
As a next step, let everything dry a little and then add brighter highlights if neccessary.

Hooray, that’s it!

After having let your illustratrion dry properly, you can frame it and add it to your gallery.

In my case, it perfectly fits the other plants on the chest of drawers and makes me enjoy the last moments of summer even more.
Yippie yay!
Material Mix and Exotic Patterns:
To get inspired by all the patterns and exotic prints and to furnish your home with some jungle flair, have a look at the Material Mix & Exotic Patterns group board on Pinterest that OTTO, some other bloggers and I are curating. So much fun!
Thank you for reading and thank you for this cooperation, dear OTTO-team! 🙂
Lu
P.S.: As you can see, this blogpost was written in cooperation with OTTO.de and is a sponsored post. Of course, my opinion is my own and all contents are created myself.
The post DIY: Botanical Watercolor Illustration appeared first on Luloveshandmade.